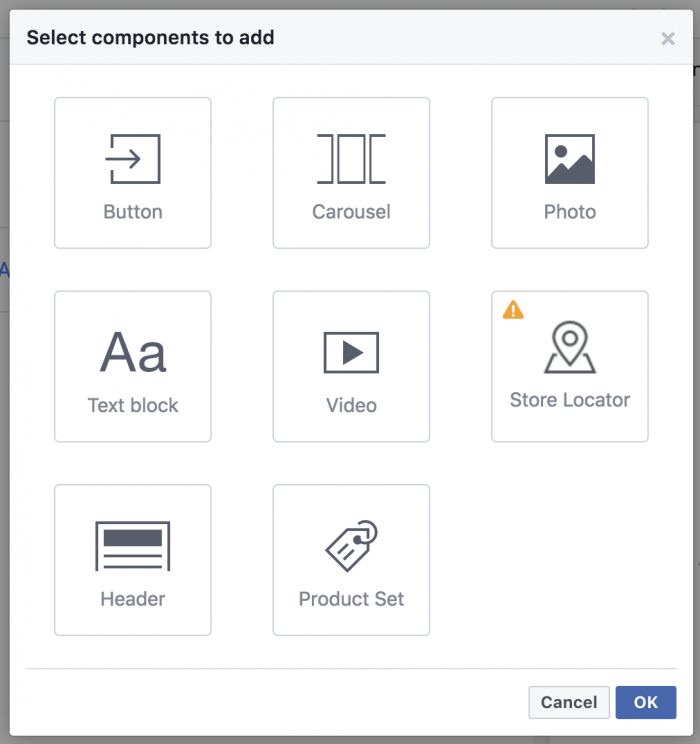
Facebook Canvas provides advertisers the ability to create a fullscreen experience that keeps potential customers on Facebook (see examples here). They can then get creative by building an experience based on components of video, images, text, CTA buttons, product feeds, and more. And now they can also add a contact form.
Experienced advertisers will recognize these contact forms as being a repurposing of lead ad forms, which allow marketers to collect contact information from potential customers without leaving Facebook. The beauty of these forms is that they auto-fill (when possible) information like name and email address from a user’s Facebook profile.
Facebook is essentially combining two very powerful tools — the fullscreen experience of Canvas and ease of data collection with lead forms — into one. Let’s take a closer look at how you can set this up for yourself…
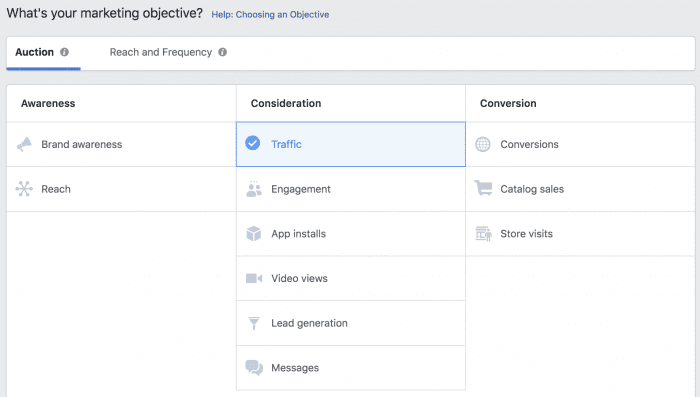
1. Choose an Objective
As I write this, it appears that the option to add a lead form to a Facebook Canvas is only available when using the Traffic objective when creating your campaign.
That can change, of course. But for now, if you want this option you’ll need to use the Traffic objective.
2. Choose Optimization
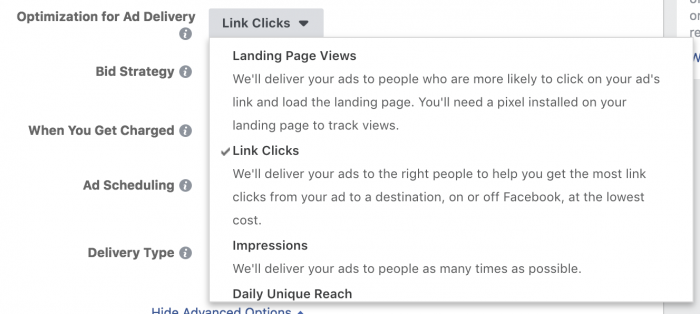
If you stick with the optimization defaults associated with the Traffic objective, you’ll likely run into the following issue when attempting to create a Facebook Canvas…
The default optimization when using the Traffic objective is Landing Page Views. If you get this error, you’ll need to change it to something else (like Link Clicks)…
Once again, this is something that may very well change. In fact, I had a brief period of time recently when using Landing Page Views was actually allowed when creating a Facebook Canvas using the Traffic objective.
3. Add a Fullscreen Experience
Now, you’ll be allowed to check the box on the ad level to “Add a Fullscreen Experience.”
Check that!
4. Use the “Get New Customers” Template
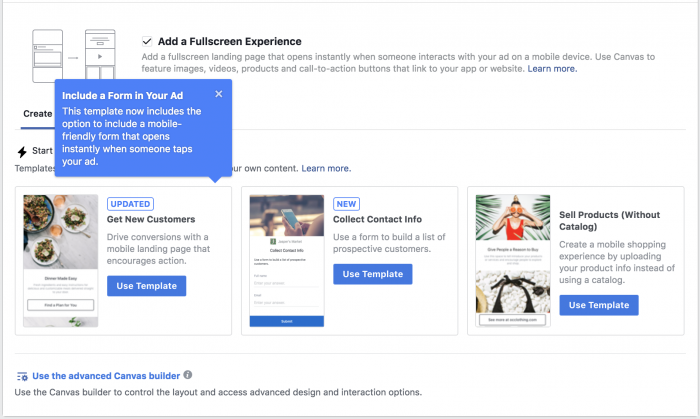
After checking that box, you’ll be presented with three Facebook Canvas templates…
As you can see from the messaging in the blue notification, the “Get New Customers” template has “the option to include a mobile-friendly form that opens instantly when someone taps your ad.” That’s what we want!
Click “Use Template” under that template.
5. Turn On the Contact Form
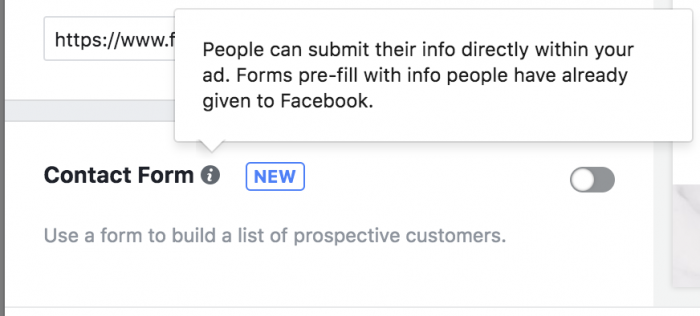
Next, build your Facebook Canvas the way you normally would using the creation wizard. At the very bottom, you’ll see an option to add a contact form. Turn that on…
Since it’s buried at the bottom and it’s turned off by default, this is very easy to miss.
6. Build Your Contact Form
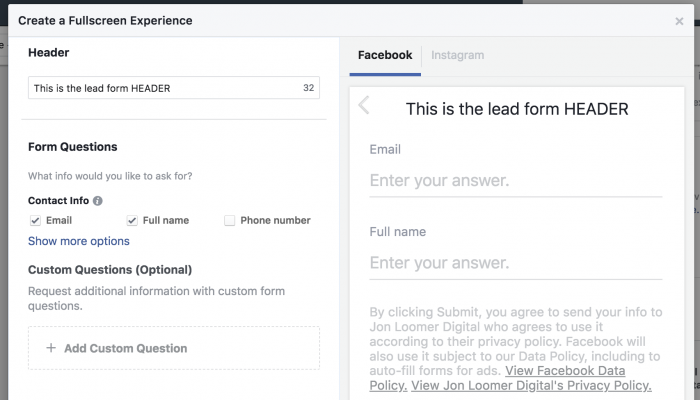
Next, we’ll want to build our contact form. This is done the exact same way that you build a typical lead ad form.
Provide a header and then indicate what information you want to request from the user. By default, it will be email address and full name.
But you’ll be able to request other information, including custom questions.
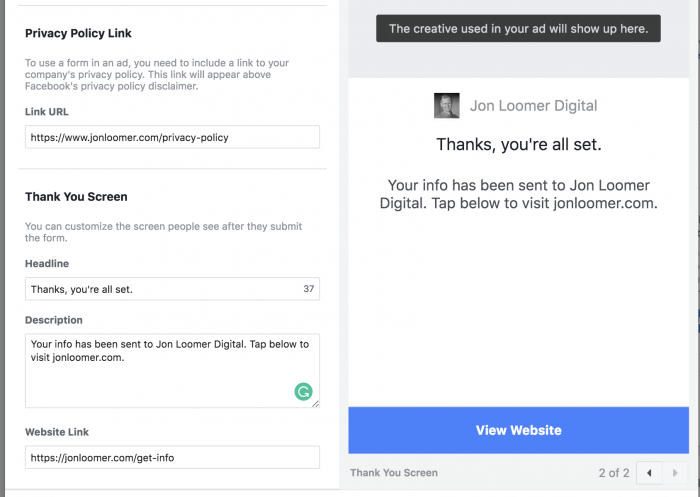
Next, you’ll want to provide a link to your privacy policy and customize the thank you screen. This is the screen someone will see after submitting their info to you.
Note that you’ll also want to provide a link for a button the user can push to go to your website — potentially to collect whatever it is they’ve requested, if that is what you prefer.
Considerations
Here are a few things to consider when adding a contact form to your Facebook Canvas…
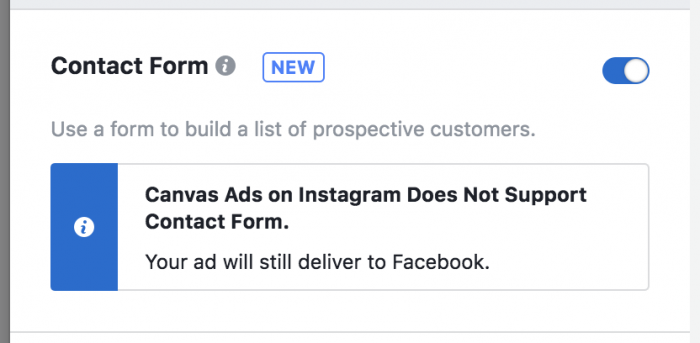
1. Forms within Canvas do not currently work on Instagram. This will likely change eventually, but something to remember for now.
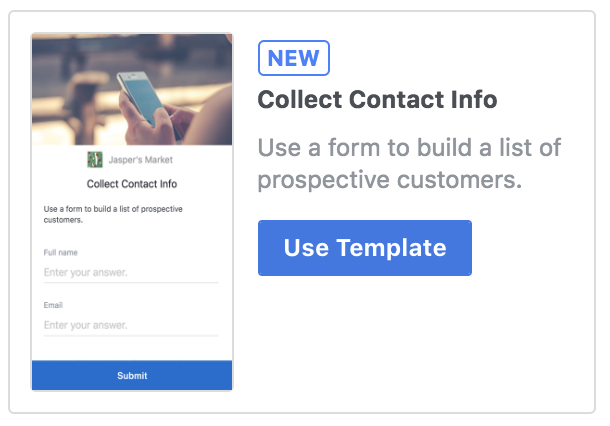
2. The “Collect Contact Info” template is basically just a lead ad. You can select this template, too…
But there’s really nothing to customize except for the form itself. So, why not just create a lead ad?
3. The templates from the Canvas Builder don’t currently provide form options. If you click this link…
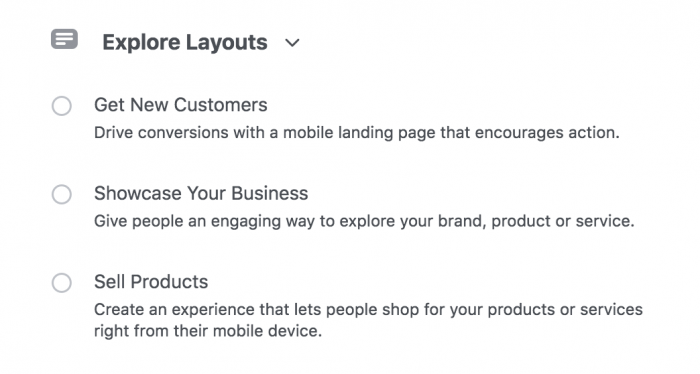
…and select the “Get New Customers” layout option…
…there is not currently a way to add a contact form. This is likely an oversight and will be fixed, but just a heads up.
4. A blank Canvas doesn’t provide a contact form component option.
If you want to create a Facebook Canvas from scratch, you won’t (currently) find an option for a contact form component.
5. You have to create a form from scratch. You’d think it would make a lot of sense to select a previously created lead ad form, but that’s not currently an option.
When Would You Use This?
Advertisers often use the fullscreen experience of Facebook Canvas to sell products. However, now there are two primary reasons why someone might want to add a contact form…
1. High-priced products. A potential customer may be interested in a high-priced product, but they’re unlikely to complete the purchase online — or at least without giving it significant thought. Including a contact form to get more information could be a great next step.
2. Feature lead-gen “free” products. Now an advertiser can use the Facebook Canvas fullscreen experience to feature things like webinars, ebooks, and more that require a name and email address. This opens up plenty of possibilities!
How to Collect Your Leads
This is a separate topic in itself, so I wrote another blog post on how to collect your leads (both manually and automatically sync) and how to target those who engage with these forms.
Your Turn
Have you started experimenting with contact forms within a Facebook Canvas yet? If not, how might you use this?
Let me know in the comments below!
The post How to Add a Contact Form to a Facebook Canvas appeared first on Jon Loomer Digital.

